Odor-source investigation
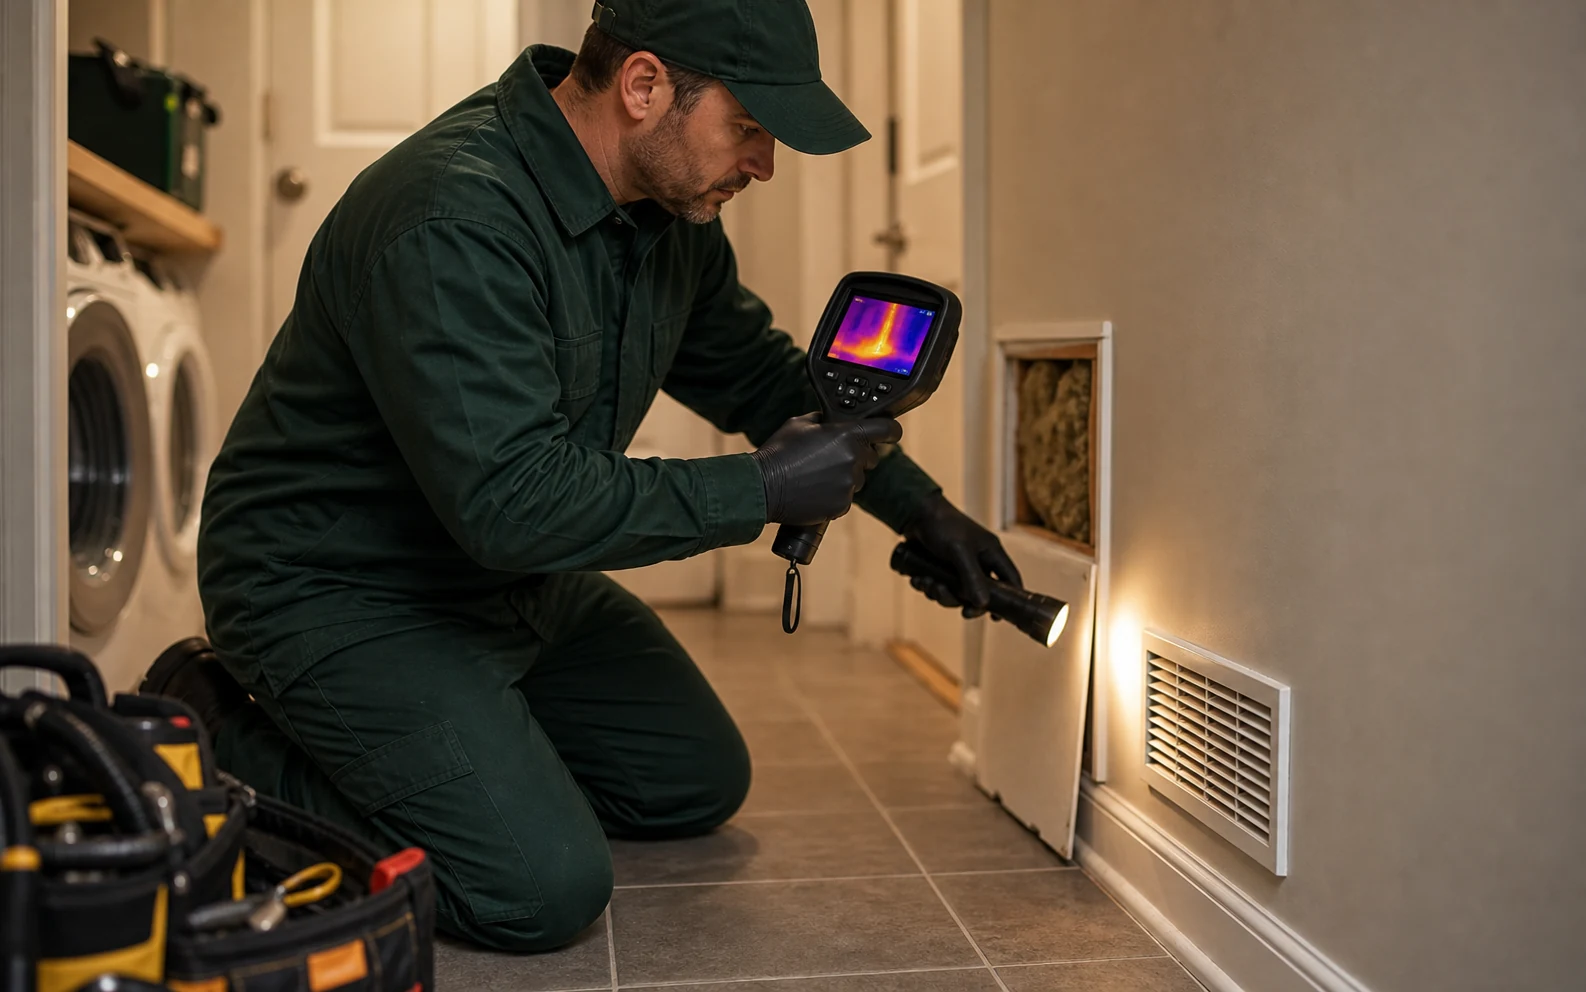
Providers may use odor mapping, thermal cameras, moisture meters, inspection lights, vent checks, crawlspace access, and exterior entry-point review.
When odor points to a source
Coordination for odor-source investigation, access review, sealed removal, deodorizing, air movement, and exclusion notes without sensational or disturbing imagery.
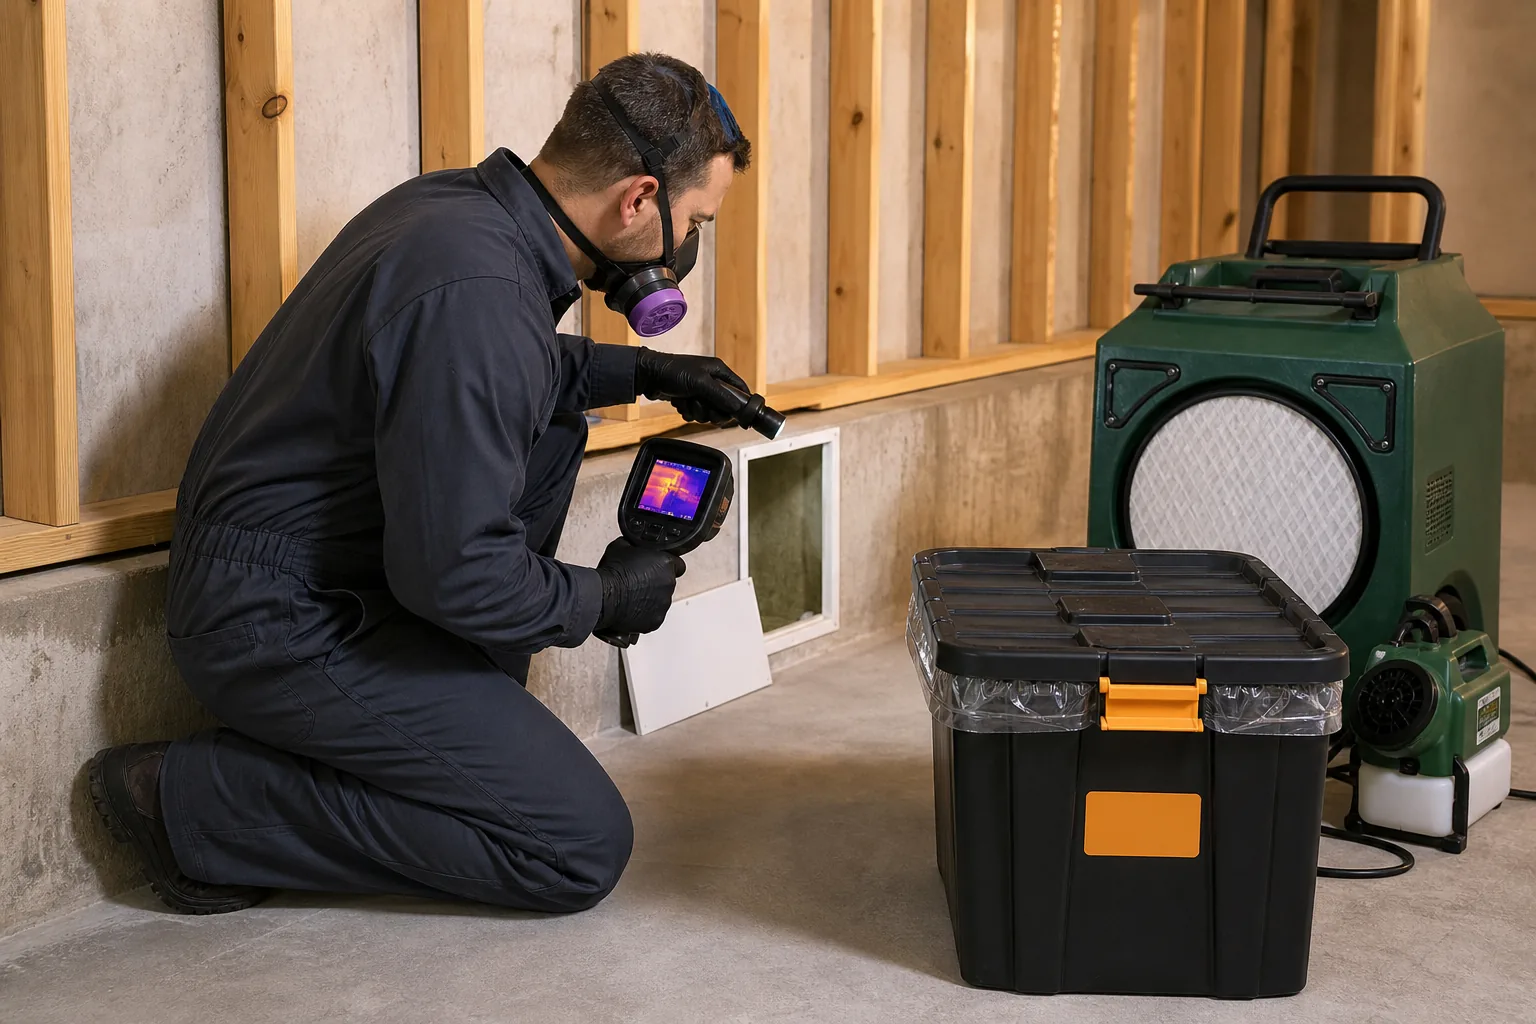
Providers may use odor mapping, thermal cameras, moisture meters, inspection lights, vent checks, crawlspace access, and exterior entry-point review.
Work may involve removable panels, crawlspace entry, attic inspection, utility-room access, or minor exploratory openings confirmed by the property owner.
When a carcass is located, independent providers confirm handling, bagging, disposal practices, surface treatment, and follow-up deodorizing.
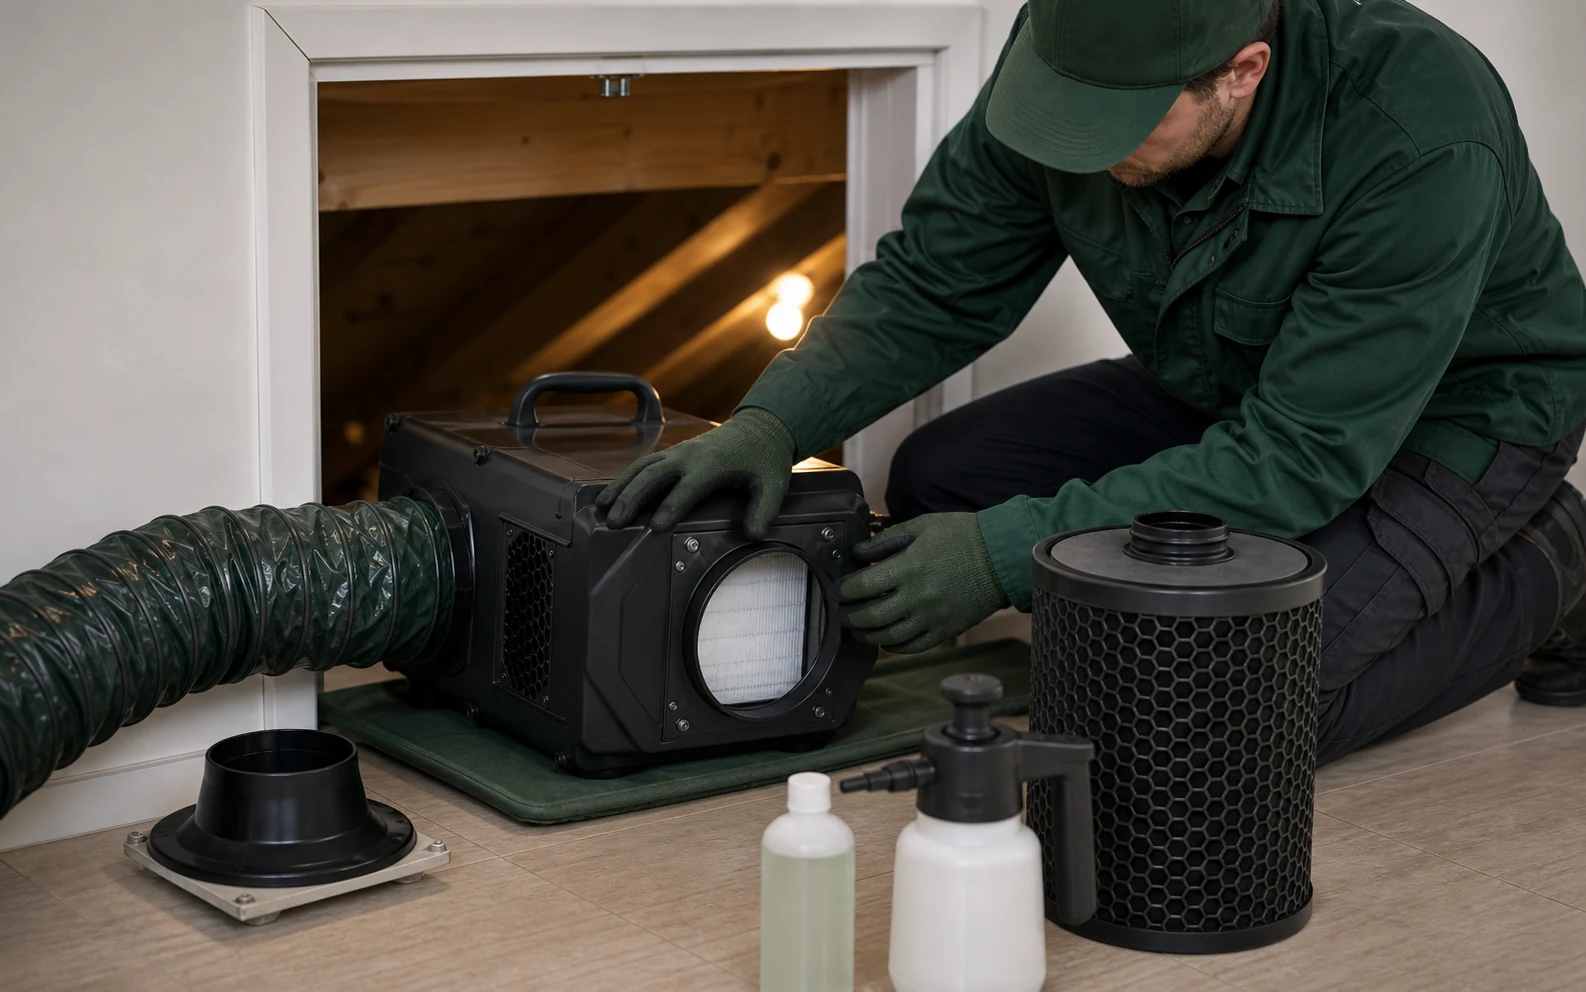
Methods can include enzyme treatment, activated carbon, air scrubbers, ventilation notes, and exclusion recommendations to stop repeat animal entry.
Odor clues often start with animal routes
This page avoids graphic imagery, but animal photos still help explain the work. Odor may follow the path an animal used: crawlspace vents, wall penetrations, attic returns, chimney areas, or foundation gaps.
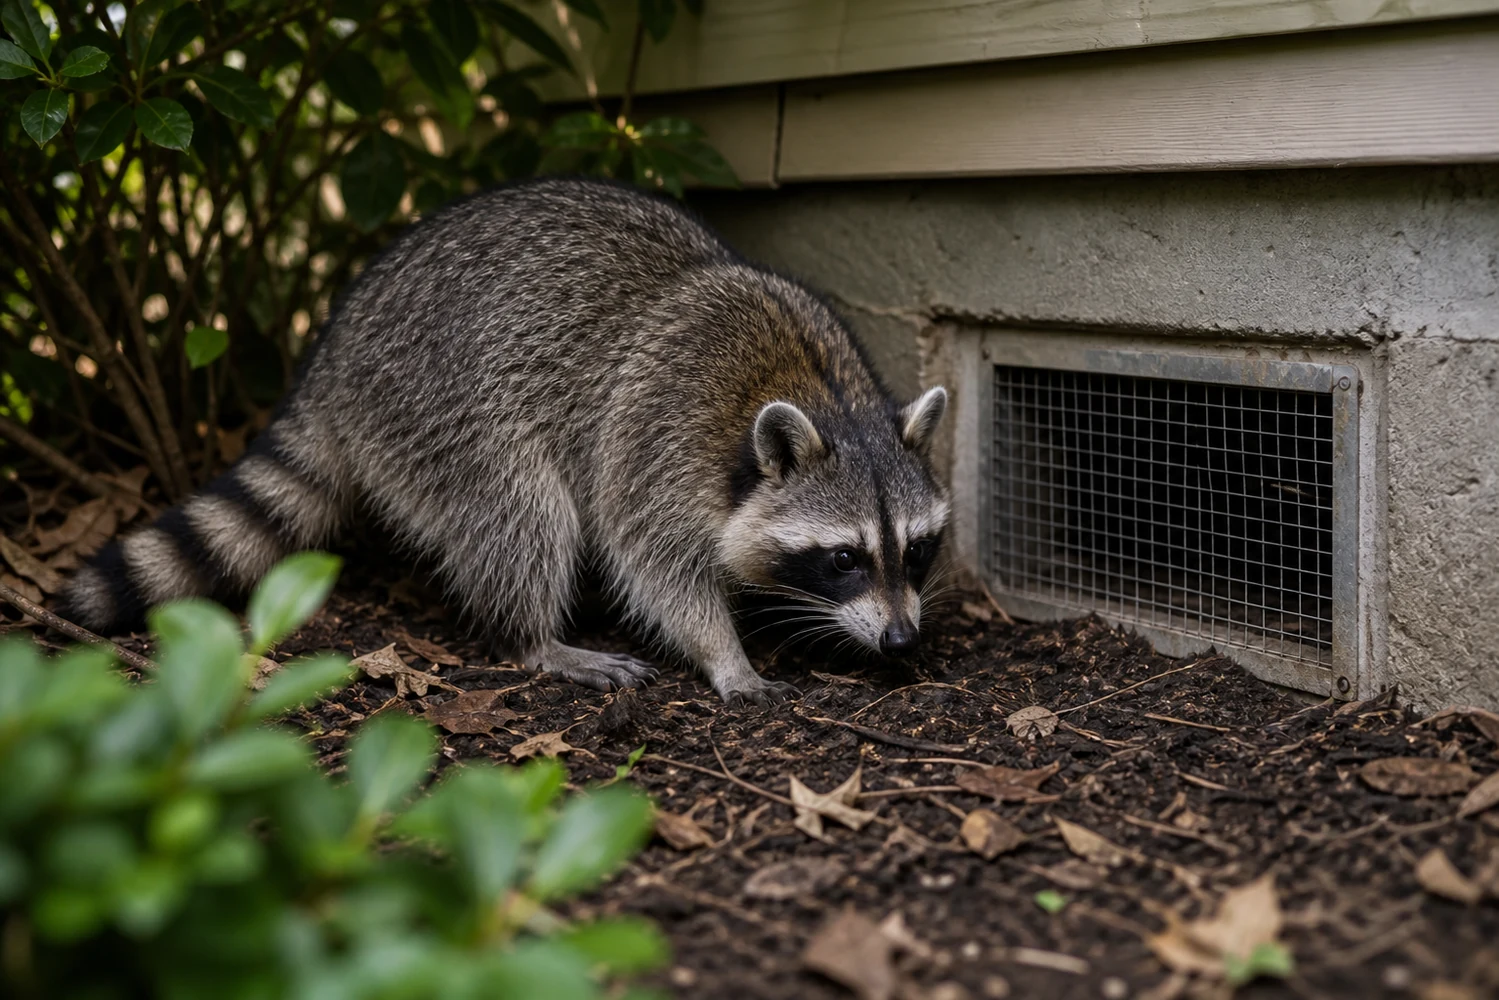
Larger animals can create stronger odor issues if they access crawlspaces, wall voids, or attic returns. Providers often ask about recent thumps, entry damage, strongest room, and exterior vent photos.
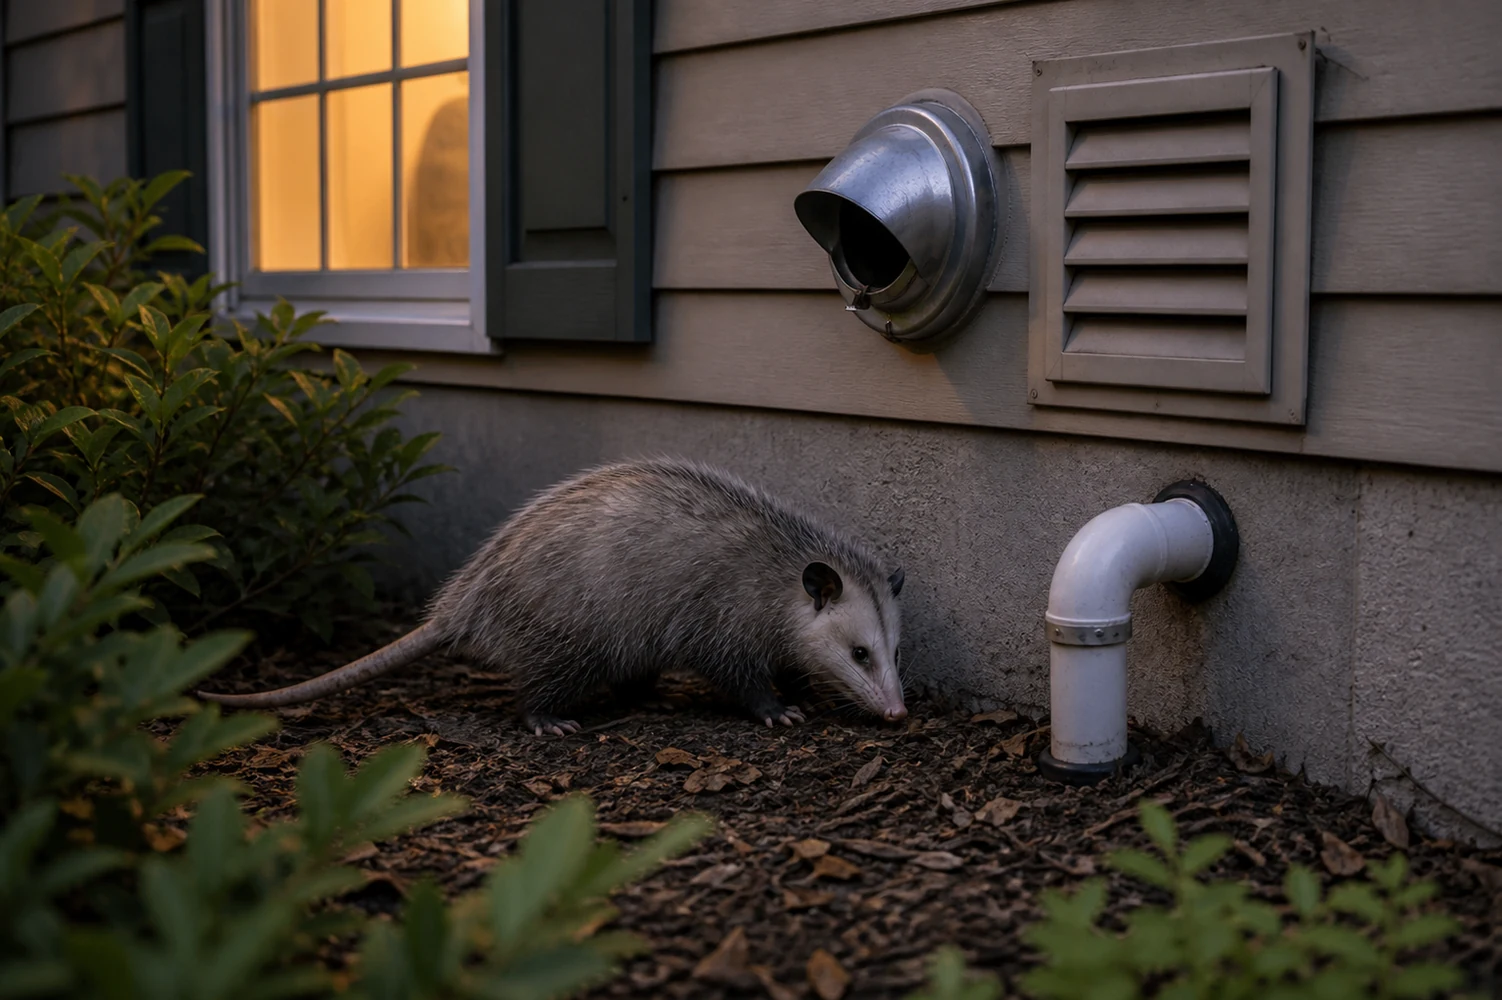
Opossums may use sheltered exterior routes near utility penetrations, dryer vents, decks, and crawlspace openings. Intake should connect odor timing with recent sightings and nearby access points.
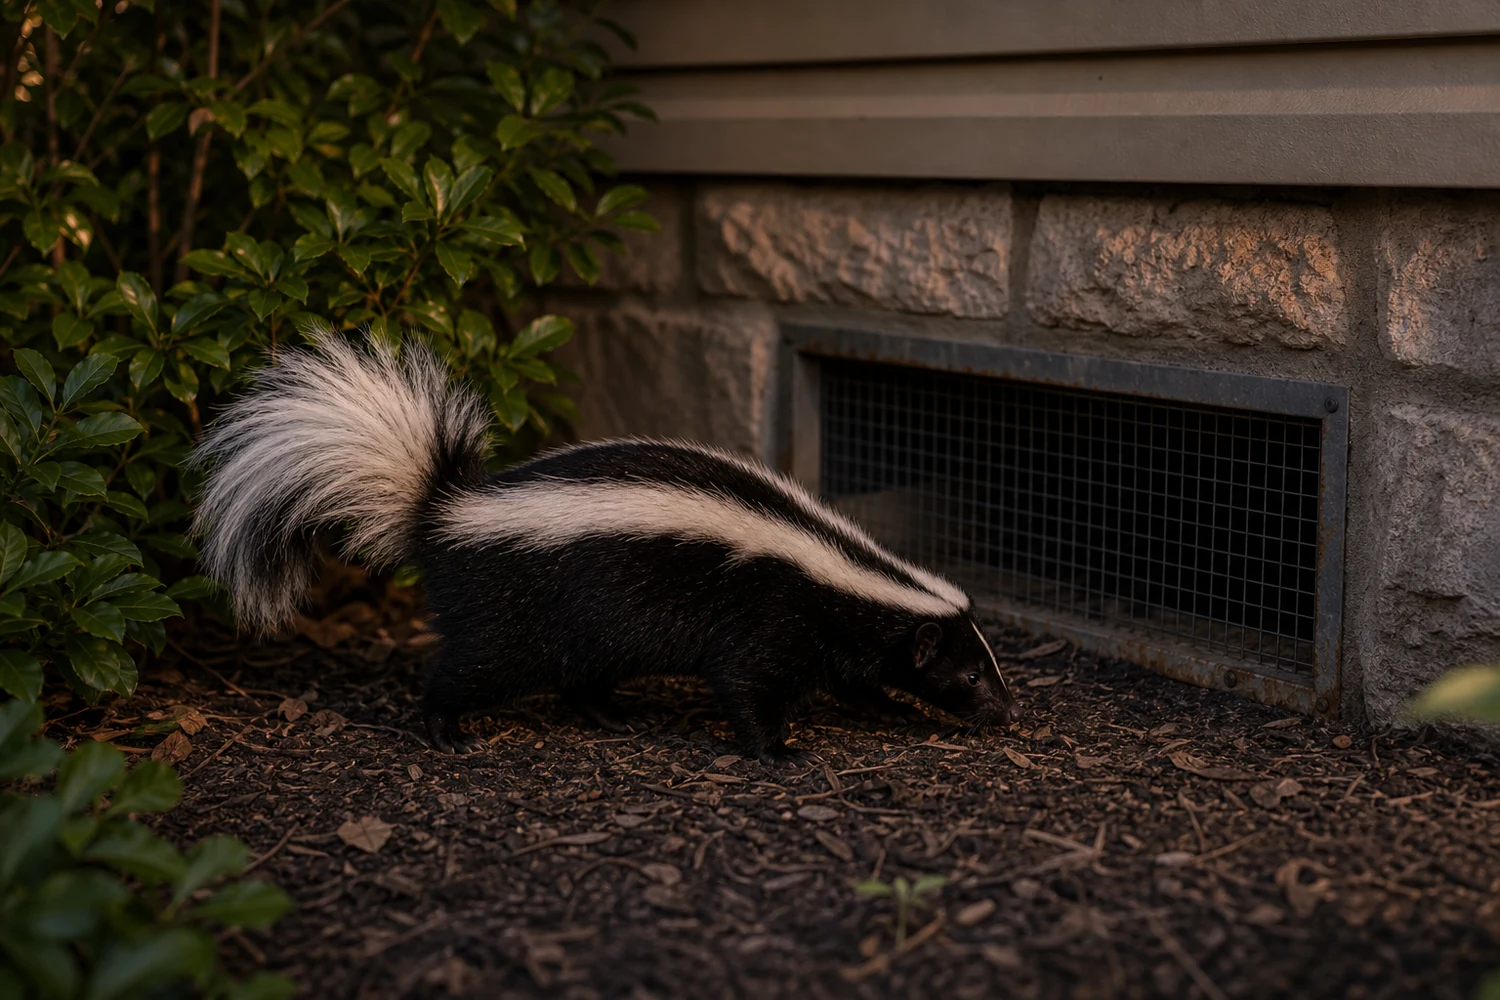
Skunk odor can be immediate, intense, and exterior-driven, but crawlspace vents, foundation gaps, and under-porch areas still need review if the smell returns or concentrates indoors.
How odor calls are narrowed
Odor intensity, airflow, wall or ceiling location, recent animal sounds, exterior access points, and nearby vents can help providers decide whether thermal review, access panels, crawlspace entry, or attic inspection are needed.
Strongest room, time of day, HVAC movement, wall bays, ceiling cavities, and exterior entry signs.
Attic hatches, crawlspace doors, utility rooms, removable panels, and owner-approved openings.
Surface treatment, neutralizers, air movement, disposal practices, and repeat-entry prevention.
Find the source first
A strong odor can travel through wall bays, ceiling cavities, vents, attics, crawlspaces, and exterior voids. Providers often start by narrowing where the smell is strongest, how it changes during the day, and whether there were recent noises or exterior openings nearby.
The final scope may involve inspection only, source removal, owner-approved access openings, surface treatment, deodorizing, air scrubbers, or exclusion recommendations if wildlife used the same route to enter.
Thermal review, odor mapping, moisture checks, attic access, crawlspace access, and vent checks can point to the correct zone.
Providers may use existing hatches, utility areas, removable panels, or small owner-approved openings instead of unnecessary demolition.
Disinfectant, enzyme products, activated carbon, air movement, and ventilation notes are selected after the source is handled.
Start where the smell starts
Temperature anomalies can help narrow wall voids, ceiling bays, and inaccessible cavities.
Containment bags, PPE, disinfectant, and confirmed disposal practices reduce exposure.
Odor products and air movement are matched to source, surface, and ventilation.
The provider should explain what room, wall, attic, crawlspace, vent, or exterior void is being targeted.
Any cutting, panel removal, or exploratory opening should be discussed before work begins.
Containment, bagging, surface treatment, and disposal practices should be confirmed.
Neutralizing products, ventilation, air movement, and repeat-entry prevention may be separate items.
Describe the strongest area, timing, recent sounds, and any known access points before source work is planned.